Sunday, November 19, 2006

The Yoke's on Me....


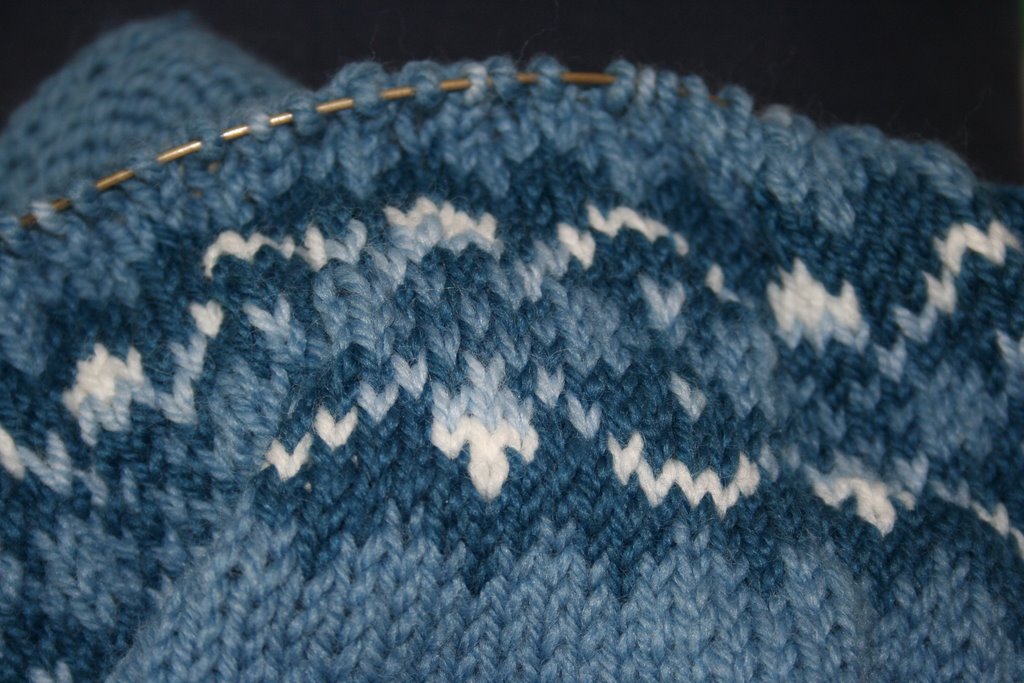
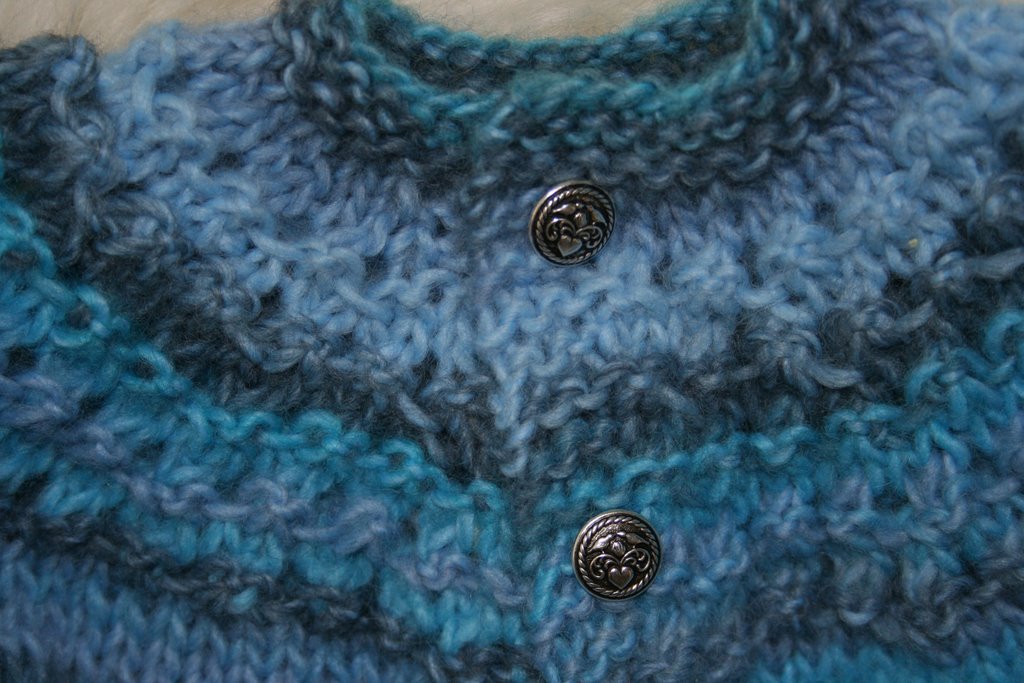
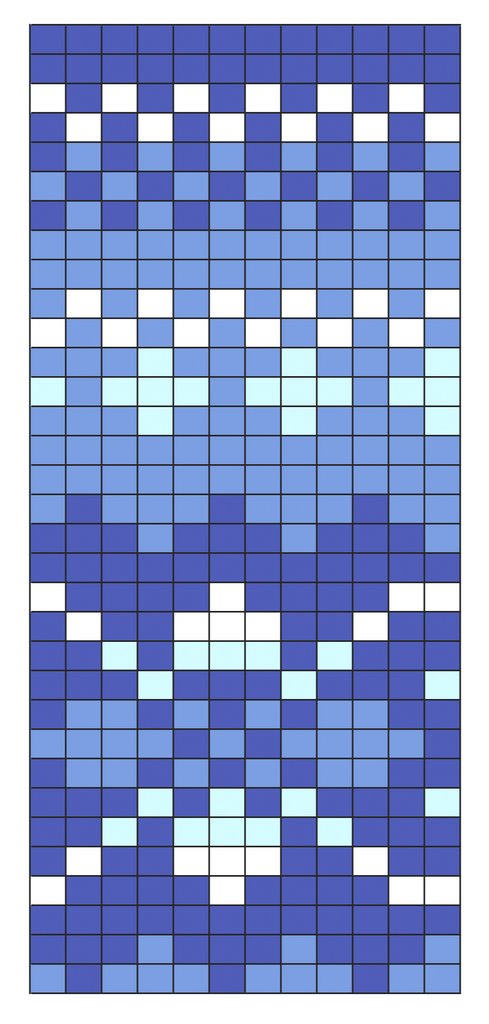
Here's the chart for the yoke from the blue sweater, if anyone else would like to use it. Note that there are a couple of places in the medium blue where I have two solid rounds of color - that's where I decided to add decreases (this was my first attempt at this kind of sweater, so I had to think long and hard about that part!).


Also fyi, because I had to think long and hard about this part, I found in the back of EZ's Knitter's Workshop a line about managing the decreases in a younger child's sweater - instead of 1/3, 1/3, 1/3, you decrease 1/3, 1/3, 1/4....this makes the head opening bigger for their proportionally larger noggins. You can place the 1/4 in any of the decrease rounds. 1/4 decrease is K2, K2tog. I'm just saying it here because I had to doodle that out with pencil and paper - maybe it's obvious to everyone else, but I guess I'm slow that way!

Okay, so on to the chart. It's a 12-stitch repeat; obviously you can use other colors, but I chose a dark blue, a medium blue, a light blue, and white. I used to quilt, so the whole dark/medium/light/accent thing appealed. I copied this from my scrawled out notes, but I think it's accurate! Please let me know if you see a problem, and feel free to use this on your own knitting!

Saturday, November 18, 2006

Blue Sweater!


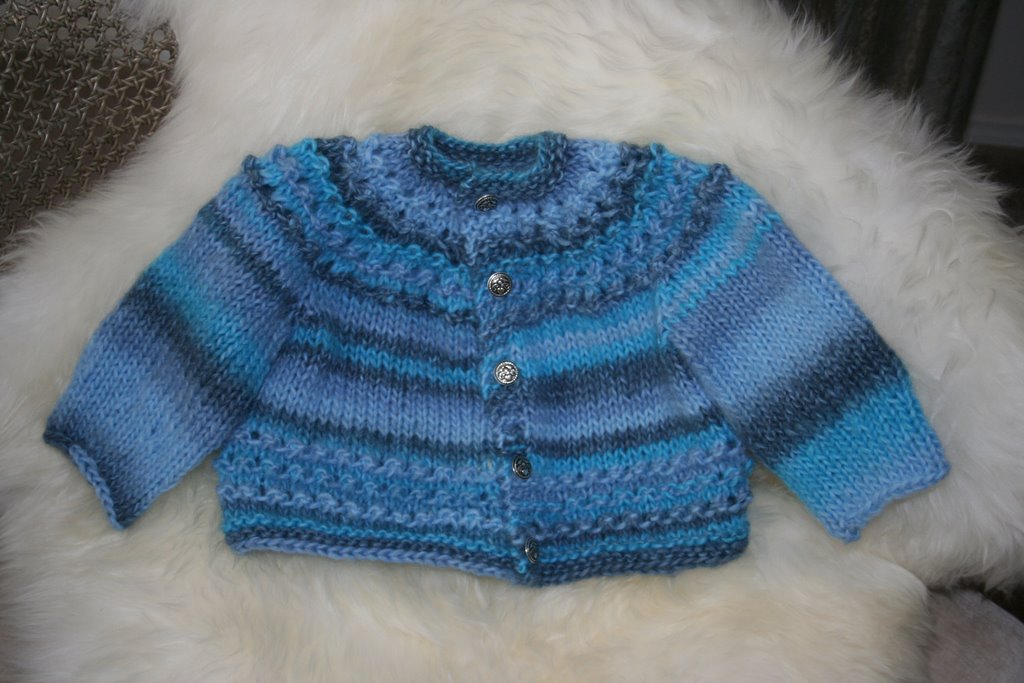
Here it is, fresh from blocking. I think I may never knit a plain stockinette one-color sweater again. I loved using color, and it went really quickly because I was always so eager to see what the next row would look like. Now you can see why I ripped out that other design, too - right?

I'm working on translating my handwritten chart, which frankly looks like the dog wrote it at this point, into a graphic. I'll post that soon in case anyone wants to try it!

Friday, November 17, 2006

It Calls to Me....


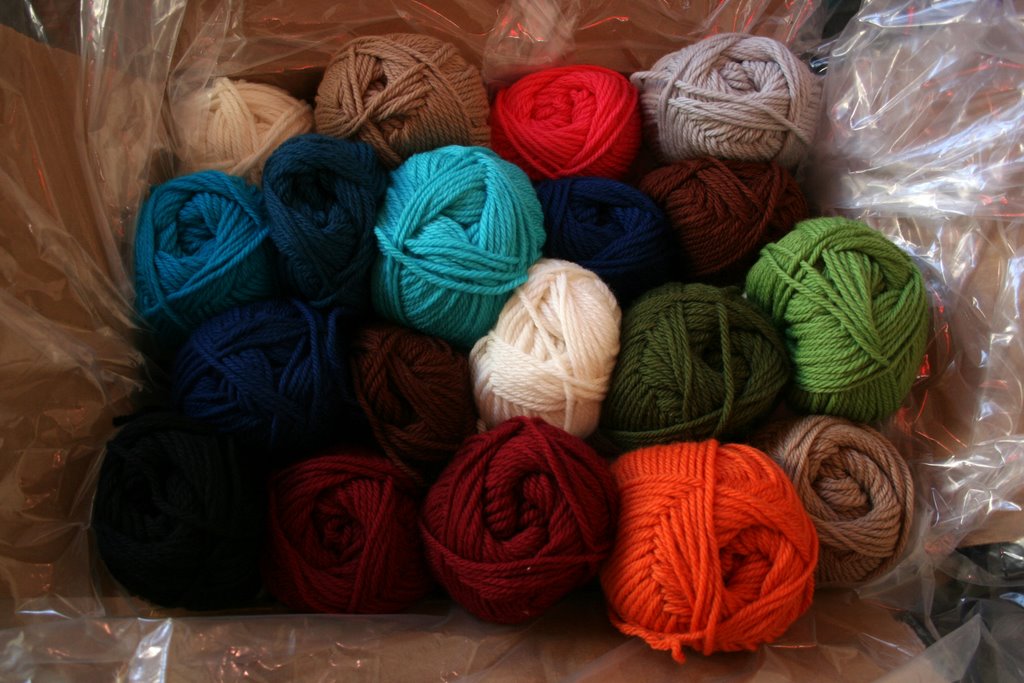
Never mind the pair of knucks that only have nine fingers so far....never mind the cabled shawl with pockets....never mind anything else in the queue of projects....I've got 20 little Merino Style friends from Knitpicks crying "Take us out! Take us out!"

Wednesday, November 15, 2006

Rip....Rip....Rip....


That was the sound of me ripping six inches off the bottom of a sweater.

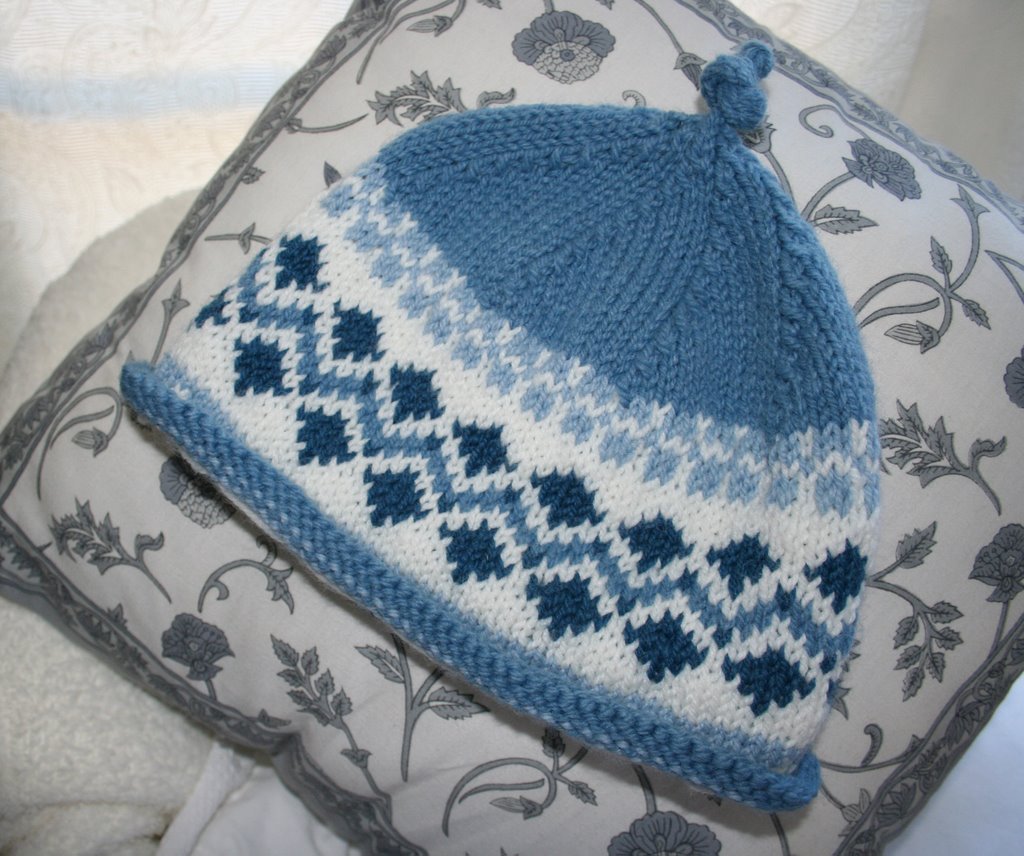
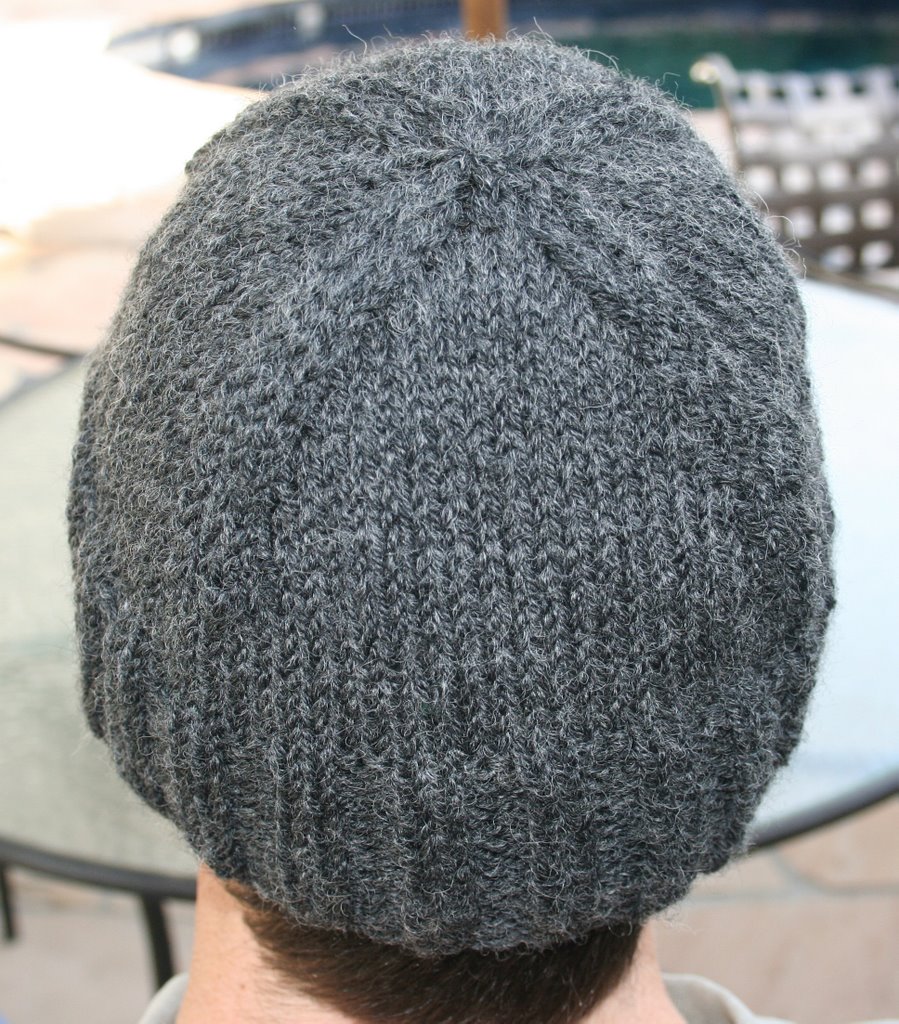
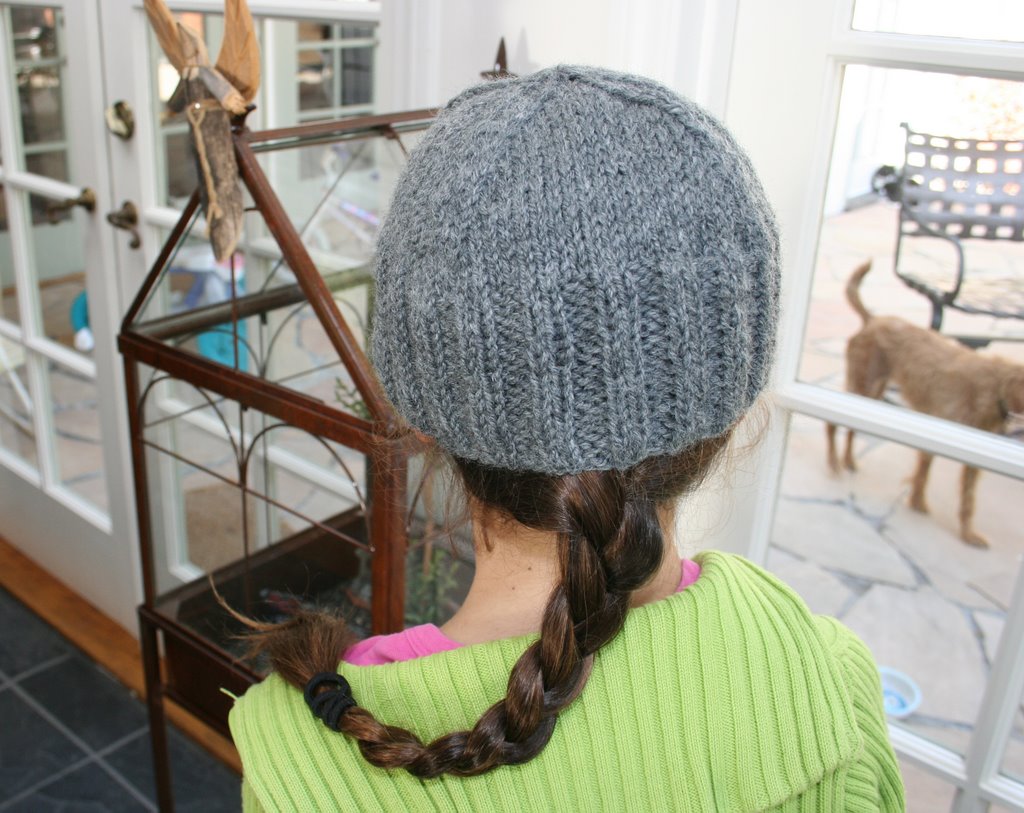
See, I've been reading a lot of Elizabeth Zimmerman's books lately. From them, I got the brilliant idea of turning swatches into hats (or hats into swatches) - because swatching kills me. All that wasted effort - no amount of good reasons will make me happy about swatching.

But a hat, I can get into. So I knit this hat you see above, using some directions in the back of the holiday edition of Interweave Knits. I wanted to accomplish two things - learn how to knit Fair Isle, and design a sweater using the EPS system.

The pluses:
I learned how to knit with both hands, carrying a color in each.
I made a hat in my daughters' school colors.

The minuses:
Everything else. Now that I'm done I hate the pattern. And why, why, why did I believe the directions when they said to knit the first four rounds plain? I knew it would roll!!

The worst part is this:


I started the aforementioned sweater from the bottom, with a hem for turning, and this color pattern above. I hated the pattern almost from the moment it was done, but I persevered. And today, with the rest of the sweater done, I still hated it.

So rip....rip....rip.... I now have three tidy little balls of yarn, and six or so inches of stockinette to make up on the bottom of the sweater. Sigh.

Monday, November 13, 2006

About Those Coasters....


Usually my knitmania causes me to have small projects in progress, so I can check off a bunch of FOs while knitting on something larger. But right now I have two large projects going, including this:


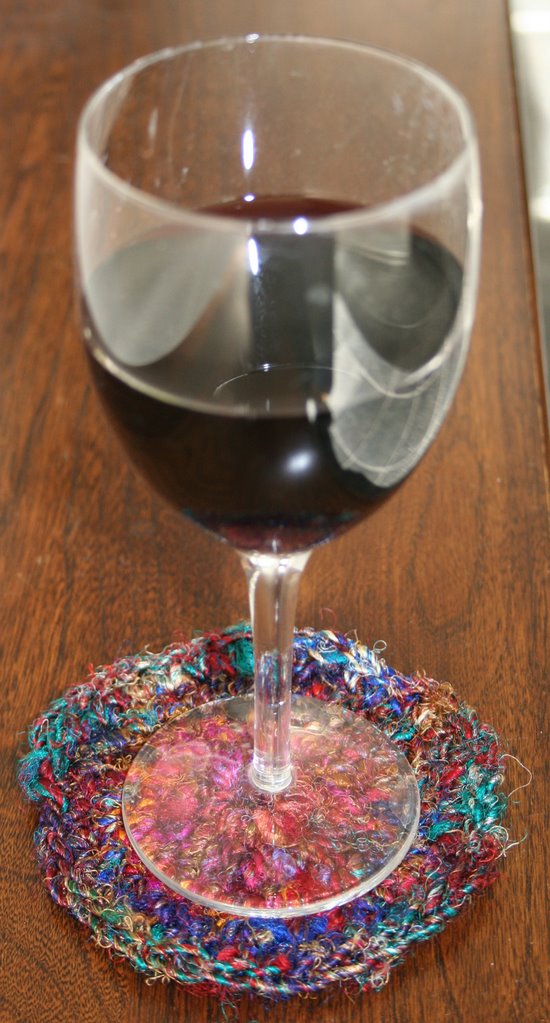
I'll have pictures of the hat I made as a guage swatch for this sweater in a day or two, but in the meantime, suzanne asked about the crocheted coasters, and whether they were flat enough to hold a wine glass. I'm happy to report that they are. They are super-simple to make - believe me, if I can crochet these, anyone can.


Sorry I Bought Sari Coasters

What you need:
However much recycled sari silk you have on hand
A size H crochet hook, which is also what I happened to have, ymmv

Leaving a long tail, chain 6.
Join the chain into a ring by working a slip stitch into the first chain.
Chain 1, and then work 12 sc right into the ring. You can secure the long tail by crocheting over it as you go.
Place marker....I used a little bit of wool and just pulled it out and moved it up as I crocheted each round.

Round 2 - sc into each st.
Round 3 - 2 sc into each st. 24 sts now.
Round 4 - sc into each st.
Round 5 - *1sc in first st, 2sc in next st, repeat from *. 36 sts now

Now comes your moment of truth - is it the size you want your coaster to be? Because you could keep going if not. Or you could make a placemat. But again - I like little things, so mine just stopped at the coaster stage.

Once you get to the end, break the yarn, thread it onto a yarn needle, and fasten off/weave it in.

I had quite a bit of yarn so I ended up with 12+ coasters.

Sunday, November 12, 2006

Father/Daughter Hat


John wanted a hat that could be thrown into the washing machine. One that wasn't frou-frou at all. This hat is the result - it's stretchy and easy to fit, and it decreases sharply with four raglan decreases at the top so there's not a bit of pointiness. It's easy and it's very quick; I've got it here in Encore Worsted, which is inexpensive and washable.

I've got instructions here for two sizes - the large fits adults M - XL. The small fits a child through small adult. If you want to knit it for a person with small head circumference but want it a bit longer, you could knit one inch of stockinette after the ribbing and it would work fine. Both the large and small sizes fit me, albeit a bit differently.

Materials:
1 skein of Encore Worsted, or yarn that gives similar guage. You won't use the whole thing.
Circular needle, 16", and matching DPs, in a size to give you the correct guage (I used size 5, but that's because I knit REALLY loosely - you probably need a bigger size!)

NOTE: Feel free to knit longer ribbing if you want to fold it up, or knit plain between the ribbing and the decrease section if you want the hat to cover the ears more.  That's up to you - the pattern is completely open for your interpretation!

4.5 sts/inch

To start, I used two needles together to cast on loosely; you can use whatever method you'd like to ensure a stretchy edge.


For sizes Child/S (M/L)

Loosely cast on 88 (96) sts. Join for working in the round, being careful not to twist, and place marker to signify beginning of round.
For both sizes, knit 3" of K2, P2 rib.
Knit 1/2 (1) inch plain.

Begin decreases as follows:

Decrease set-up round: *K1, SSK, K17 (19), K2tog, place marker, repeat from * to end. You have 80 (88) sts remaining.
Knit two rounds plain.

Decrease Round: *K1, SSK, Knit to last 2 sts before marker, K2tog, slip marker, repeat from * to end. You have 72 (80) sts.
See how that will work out? You have one stitch plain at the marker, and you'll be doing paired decreases on either side of it all the way through.

Knit two rounds plain.

For both sizes, repeat the Decrease Round, knitting two rounds plain between decreases, until you have 64 sts.

Knit one round plain.

Repeat Decrease Round. You have 56 sts.

Knit one round plain. You have 48 sts.

At this point, every round repeats the Decrease Round. Change to DP needles when practical.

Continue decreasing until you have 8 sts remaining. For the last part, when you start wondering how to decrease the last round of sts, because the two decreases overlap, you can decrease into the one plain stitch that's between the K2tog and SSK. Experiment - it'll work out.

Break yarn, thread through 8 remaining sts, and draw through to wrong side of hat. Weave in ends - Voila! The hat is super stretchy, so you can block if you want to, but I didn't.


Copyright 2006 Windansea/Lydia McNeil. For personal use only.

Friday, November 10, 2006

Red Placket Sweater


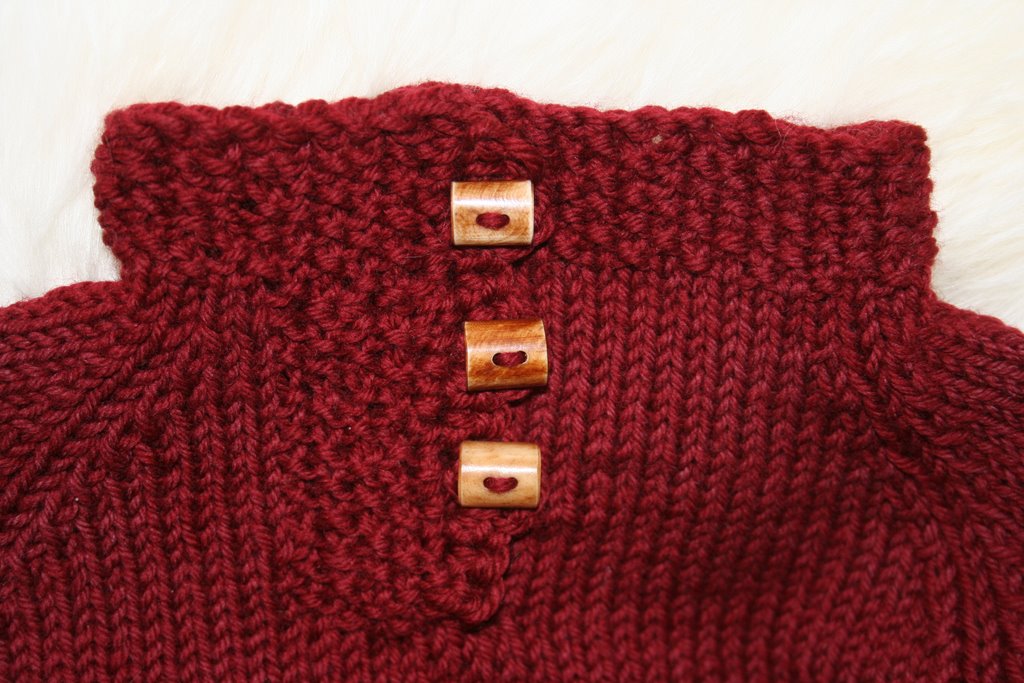
I remember reading there was an issue with where the placket ended up in the pattern for the Child's Placket Sweater from Last Minute Knitted Gifts - but when the time came to knit it up, I couldn't locate any errata. So, being impatient, I cast on and went for it. Sure enough, the minute it was done, I could see that the placket was about an inch to the left of where it should be.....

And one other thing - since I glanced through the directions before getting there, but was already committed, I didn't realize that the buttons on the original design where large beads pushed through the seed stitch placket. I could imagine those constantly popping through and letting the neck flop open.

So to solve these problems, I broke out the crochet hook and created some crocheted loops along the edge of the placket for these nifty toggle buttons. This centered the buttons and finished the look nicely.

The yarn is Cascade Superwash. It dyed my hands red as I was knitting, so I threw the sweater into the washer before blocking (also to test that whole "Superwash" thing), then into the dryer for a few seconds, and then laid it out flat to dry. It worked beautifully and the color held up well.

By the way, here is a link to the corrections for this pattern:

purlsoho.com book corrections

The patterns in Last Minute Knitted Gifts are gorgeous and inspiring, by the way!

Monday, November 06, 2006

Five Hour Baby Sweater


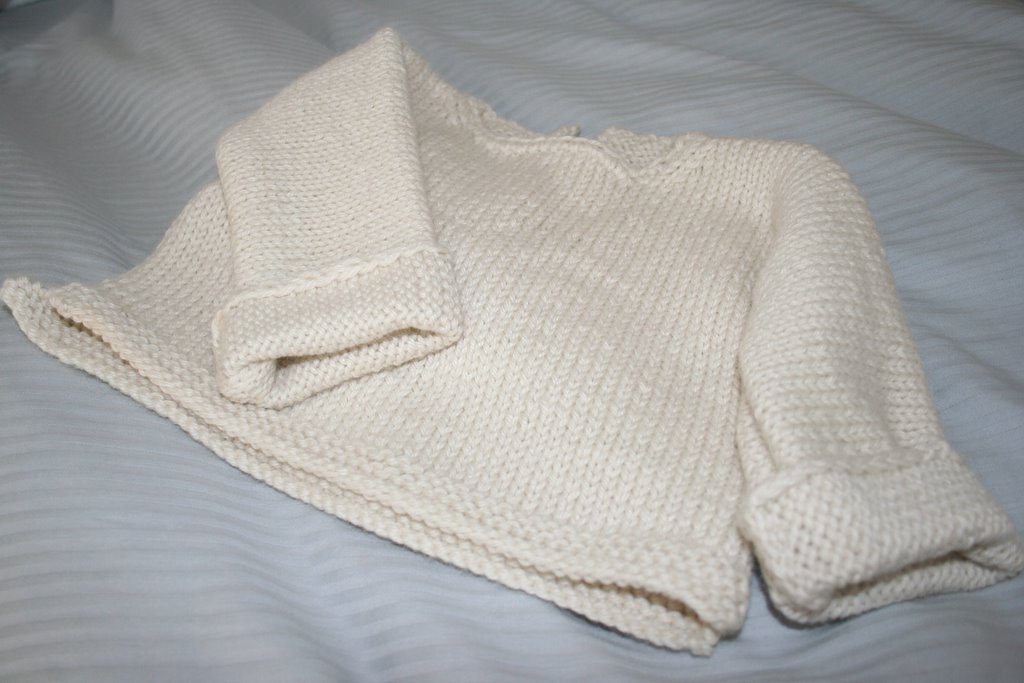
I wanted to learn top-down sweater construction, and what better way than with this? It's the Five Hour Baby Sweater, made with one skein of some Lana Gatto yarn I had. It's fast, it's cute, it's functional....I just ordered Barbara Walker's book on Knitting From the Top because of it, too. A google search will give you a bunch of links to this pattern and all its variations, but here's one:

Lorraine Major's Verion of the 5 HBS

I'll add this - the sweater was just okay until I added the buttons. The buttons made it! It's really the details that finish things off.

Wednesday, October 25, 2006

Fuzzy Shrug


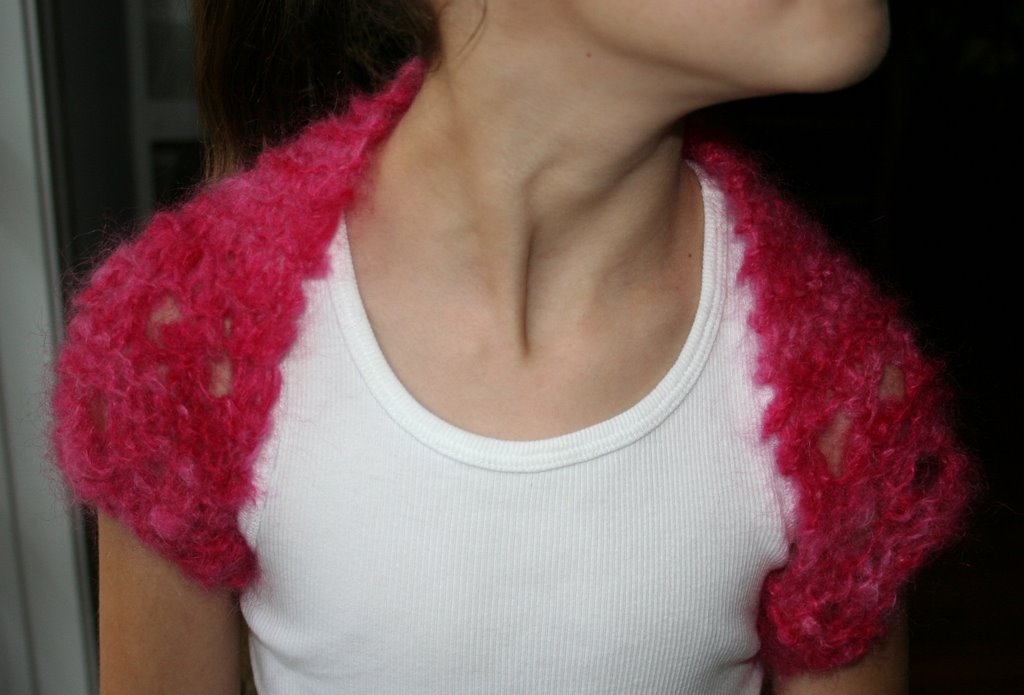
I had this ball of mohair lying around, no tag, hot raspberry pink. No idea what I bought it for, but I do like pink. It ended up being this fuzzy shrug, perfect as a little layer over a tank top. Mary loves it.

To make a shrug of your own, all you need is a rectangle. If your shrug recipient is nearby, you can measure from shoulder to shoulder, add a little bit for the "sleeves" and then measure from the top, where it would hit the neck, down as far as you want it to go. Knit a rectangle to these dimensions, and then seam a little on the front to create the sleeve part. You can add the yarn-overs or not, or add some other interesting stitch or not - with a hairy enough yarn it doesn't matter anyway, but if you're using something that shows stitch definition you can put them in.


For this shrug, which would fit a child 8 - 10, finished measurements 9 x 20", you need:

One ball of hairy yarn in the color of choice that will give you a gauge of about 9 sts over 4" of garter stitch (the exact gauge is not that critical - this would be fine at 2.5 sts/inch instead of 2.25/inch) on size 10 needles, or the size that'll get you there.

CO 20 sts, leaving a nice length of tail for sewing later

Rows 1 - 5: knit
Row 6 (WS): k1, *k2tog, yo, repeat from * to last stitch, ending with a k1
Rows 7 - 9: knit
Row 10: repeat row 6
Knit until piece measures about 14", ending with a RS row
Repeat Rows 6 - 10
Knit 5 rows
Bind off, again leaving a nice length of tail

Now you have a rectangle. Fold it in half lengthwise and, using the tail ends you left at CO & BO, whipstitch the last 2" or so and weave in the ends. Voila - it is a shrug.

Monday, October 23, 2006

Pink Potato Chip


I guess the constant theme in my knitting is the need for instant gratification. I do have a couple of larger projects on the needles - and they'd probably be done by now, except for my need for an FO (finished object) every couple of days. I have to intersperse the quick into the longterm knitting.

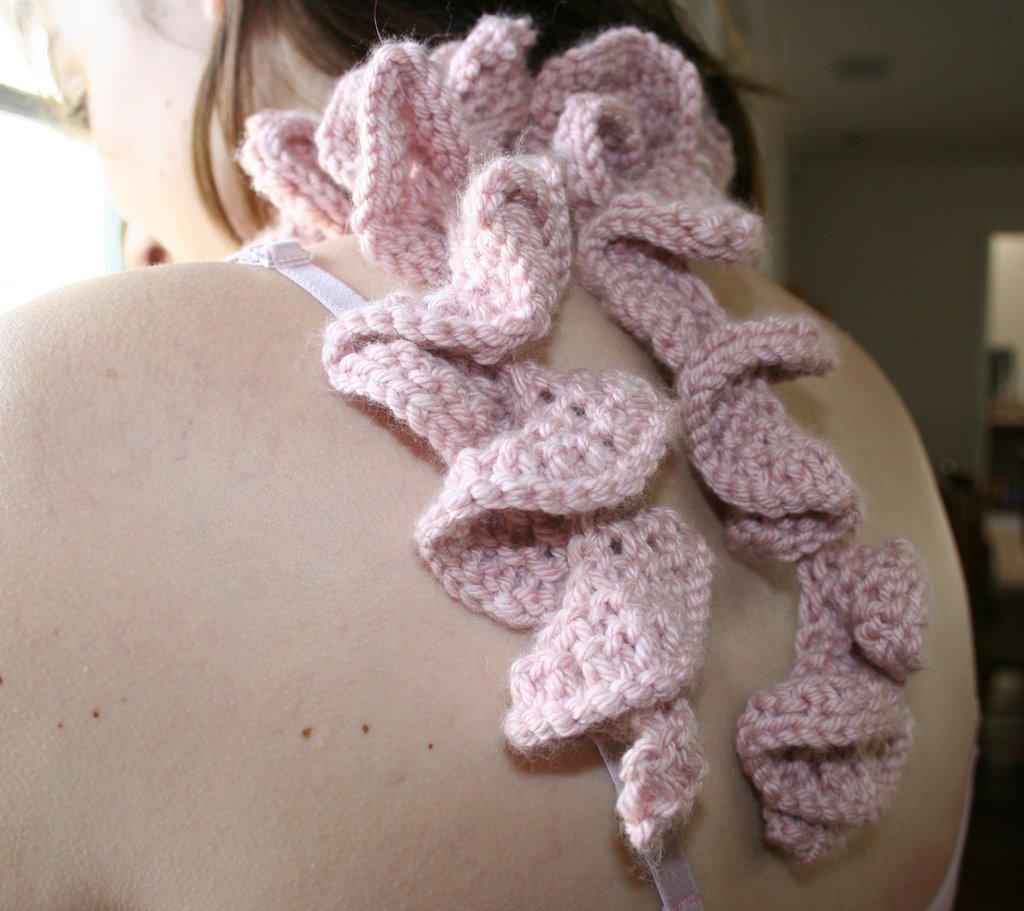
Pictured here is the potato chip scarf from knitpicks, done in some Debbie Bliss Cashmerino Aran I had left over from another project. I love how this yarn feels and I love love love the color but I'm not crazy about knitting with it. But the result was this little trifle, a sweet confection that is more ornament than scarf. I'll probably make more in different colors later on. The pattern is free and can be found here:

http://www.knitpicks.com/projects/itemid_50355220/projects_display.aspx

Saturday, October 21, 2006

Knits for an Elf


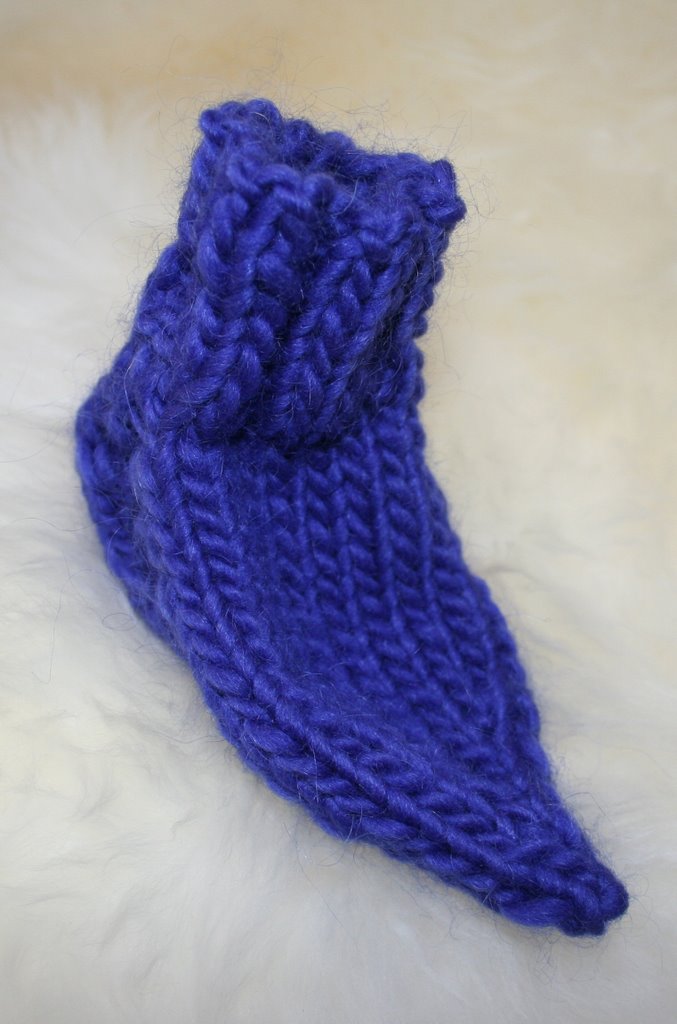
I ran across this pattern for a Gnomey Hat at www.helloyarn.com, and I had not-quite-one skein of Lamb's Pride Bulky (probably about 120 yards). I left off the ear flaps and the pom-poms, and the result was this pointy little number pictured above. And then I had a little left over, maybe 40-50 yards, so I made some pointy little elf booties to match.

Here's the pattern for the booties, to fit a foot size of about 4 - 4.5 inches. I'd start with a whole skein of Lamb's Pride Bulky so you can make both patterns without worrying if you'll have enough; I'm not sure if that would be enough with the ear flaps & pompoms though.

Elfy Booties

One skein Lamb's Pride Bulky or comparable yarn to match gauge.
One set of double-point needles, size 9 or size needed for gauge.
3.5 sts - 1"

CO 20 sts and distribute across three dp needles; join for knitting in the round, being careful not to twist. Place marker to show beginning of round.

Knit in K2, P2 rib until piece measures 1.5"


Heel -
K across 5 sts, turn work, and P across 10 sts
Place remaining sts (the ones you haven't just worked) on a single dp needle, holder, or waste yarn (whatever you prefer) to work later - they will be the instep.
You have 10 sts for the heel.

Heel Flap -
Row 1: (RS) *Slip 1 pwise w/yarn in back (wyib), k1; repeat from * to end of heel sts
Row 2: Slip 1 pwise w/yarn in front (wyif), p to end
Repeat Rows 1 & 2 until 10 rows have been worked. There will be 5 chain selvedge sts along the edges of the heel flap.

Turn Heel -
Row 1: k across 6 sts, ssk, k1, turn work
Row 2: Slip 1 pwise, p3, p2tog, p1, turn
Row 3: Slip 1 pwise, k to last 2 sts, SSK, turn
Row 4: Slip 1 pwise, p to last 2 sts, p2tog, turn

Heel Gusset -
k across all heel sts, and with same needle (needle 1), pick up & knit 5 sts along the selvedge edge (in the chains you made before)
On another needle (needle 2), work across the 10 sts you set aside for the instep
On another needle (needle 3), pick up and knit 5 sts along the other selvedge edge, and then knit 3 sts from the heel
You now have needle 1: 8 sts; needle 2: 10 sts; needle 3: 8 sts, or 26 sts in all, and are ready to continue working in the round. Needle 1 is the beginning of the round, from the middle of the heel.

Rnd 1: k to last 3 sts on needle 1, k2tog, k1; k across all instep sts; on needle 3, k1, ssk, k to end
Rnd 2: knit

Repeat rounds 1 & 2 twice more, until there are 20 sts left

Foot -
Work even in stockinette stitch (knit all rounds) until piece measures 3.5" from base of heel

Toe -
Rnd 1: k to last 3 sts on needle 1, k2tog, k1; on needle 2, k1, ssk, work to last 3 sts, k2tog, k1; on needle 3, k1, ssk, k to end
Rnd 2: knit

Repeat rounds 1 & 2 until 8 sts remain, and then:
needle 1 - k2tog
needle 2 - ssk, k2tog
needle 3 - ssk

You can work another round or even a couple more even on these 4 sts depending on how pointy you want the toe to look. I cut it pretty short because I was afraid of running out of yarn.

Break yarn, draw it through all 4 sts, pull to wrong side and weave in ends. That's it!

Copyright for Elf Booties 2006 Windansea
For Personal Use Only

Tuesday, October 17, 2006

Super-Easy Child's Hat


This super easy hat is a great project for a beginning knitter, and a fast knit for a more experienced one. It fits my 8-year-old, but it would fit a smaller child (4-5) or even a little larger one, cuz it's stretchy. Here's the pattern:

Materials:
One skein of Tahki Stacy Charled Bunny Print (or similar)
One 16" circular needle, size 9
One set of size 9 double-pointed needles (or size needed to obtain gauge)
Gauge: 13 st = 4"

Method:
CO 60 st
Join to knit in the round, being careful not to twist
Place marker to indicate beginning of round

Round 1: *K1P1, repeat from * to end of round
Round 2: *P1K1, repeat from * to end of round
(This sets you up in seed stitch)
Round 3: Repeat Round 1
Round 4: Repeat Round 2
Round 5: Switch to stockinette (knit all rounds)

Continue in stockinette until piece measures 5" from cast-on edge.

Begin decreases as follows, switching to DP needles when practical:

Round 1: *K8, K2tog, repeat from * to end - 54 st
Round 2: Knit
Round 3: *K7, K2tog, repeat from * to end - 48 st
Round 4: Knit
Round 5: *K6, K2tog, repeat from * to end - 42 st
Round 6: Knit
Round 7: *K5, K2tog, repeat from * to end - 36 st
Round 8: Knit
Round 9: *K4, K2tog, repeat from * to end - 30 st
Round 10: *K3, K2tog, repeat from * to end - 24 st
Round 11: *K2, K2tog, repeat from * to end - 18 st
Round 12: *K1, K2tog, repeat from * to end - 12 st

Break yarn, leaving enough tail to weave in well. Draw the tail through all 12 stitches and pull closed. Pull tail through to inside of hat and weave in end.

You should have about 12 yards of yarn left over, which you can now make a pompom with, or a braid, or whatever you'd like! I made a pompom using a pompom maker, and then sewed it to the top.


Copyright 2006 Windansea
For Personal Use Only

Monday, October 16, 2006

Knucks!


Love these - they are my new favorite project. The purple ones are knit with Rowan Felted Tweed, one skein. The pink ones are knit with Tahki New Tweed - one skein plus a few yards of a second. I may have to knit them until everyone I know has a pair. The pattern is at knitty.com, here:

http://knitty.com/ISSUEsummer06/PATTknucks.html

One-Skein Wonders


Several days ago I joined a knit-along called Lonesome Skein to try to bust through some of the lonely balls of yarn in my stash. Many of them are from when I first started knitting and would buy a ball of yarn I liked without thinking about what it would turn into - nowadays I buy in multiples!

Anyway, here's a project I knit with some DK yarn I bought for baby stuff. I think it was Plymouth Dreambaby. Anyway, I wanted to try a lace project but I was afraid to knit with something too fine until I could really read a chart, so I knit Branching Out from knitty.com. It's beautiful - and it turns out charted patterns are very cool. I started knitting and finished when the ball ran out - about 180 yards or so. It's not as long as I would've knit if I'd had more, but it's enough to arrange around the neck artfully.

Here's the pattern link: http://knitty.com/ISSUEspring05/PATTbranchingout.html

Saturday, October 14, 2006

When Knitting Hurts....


Desperate times call for desperate measures. When my elbow hurt too much to knit, I had to finally learn how to crochet, something I'd never been able to do before. I'm not sure if knitting so much enabled me to understand the yarn and how it knots better on a needle, or if desperation drove me to master the unmasterable. But it clicked.

The really great thing is that while I was learning single crochet, I figured out a use for some recycled sari I had in my stash. Let me tell you, it's beautiful stuff but it's a pain to work with. It knots, it frays, it splits, and it stretches. Coasters are the ideal product for this yarn, because they're beautiful and functional but it doesn't matter if they distort a little.

Wednesday, October 11, 2006

Blog Sabbatical, Part Two


Here's the other stuff I was working on right before I had to stop knitting. A wavy hat - let's call it the Windansea - of my own design, using Manos del Uruguay kettle-dyed wool, which I love. I will post the pattern in a few days, but here's a picture of it, along with the matching mittens.

Tuesday, October 10, 2006

Blog Sabbatical, Part One


After a lengthy blog and knitting sabbatical, I'm back at the needles. I knit so much last winter that I had to stop and nurse a sore tendon in my right arm. But now I'm better, and I'm knitting much more carefully - watching how I hold my wrists and forearms, wearing tennis-elbow bands, resting, etc.

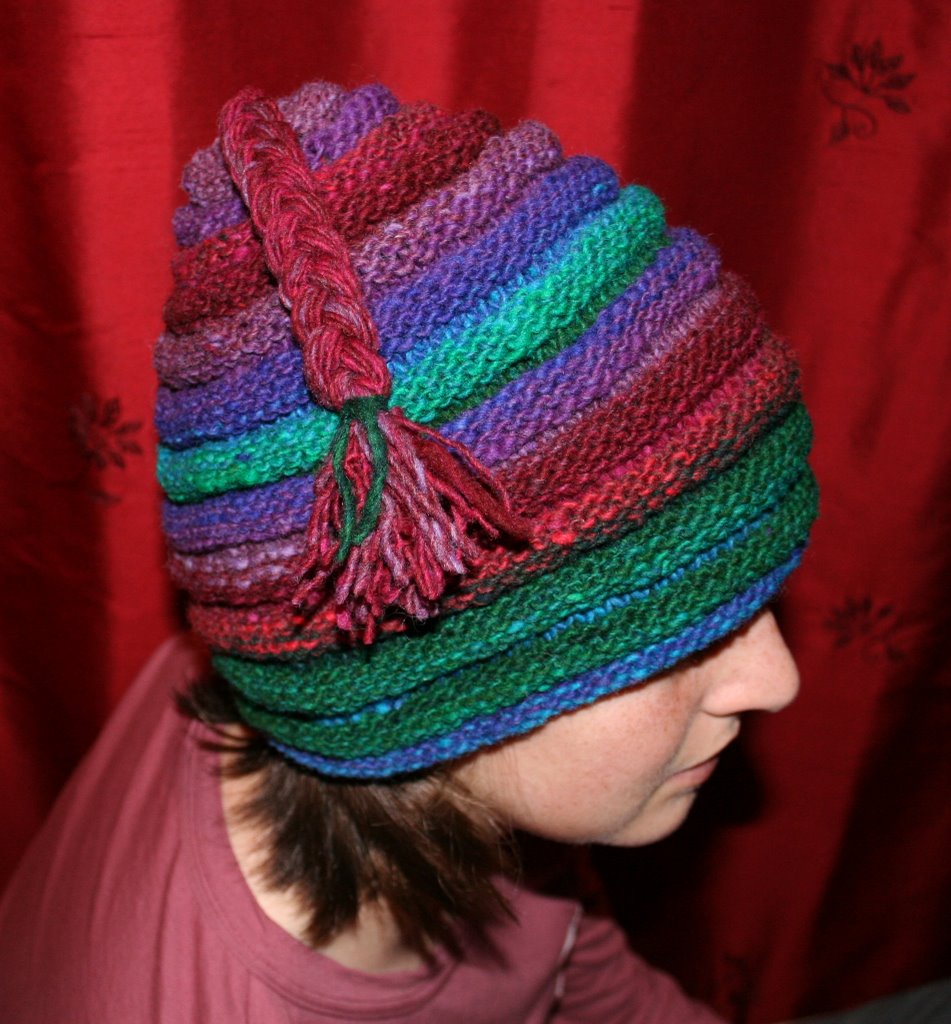
In any case, these pictures have been languishing in iPhoto since last February (!) when I knit some little extremity warmers for Anna's trip to Sequoia. First, the Noro hat pictured above. It's quick to knit, and it's fun to watch the purl bumps create the beehive-like shape. And best of all, the pattern is free and can be located here: http://www.xs4all.nl/~tdpj/HTM/Norohat.htm

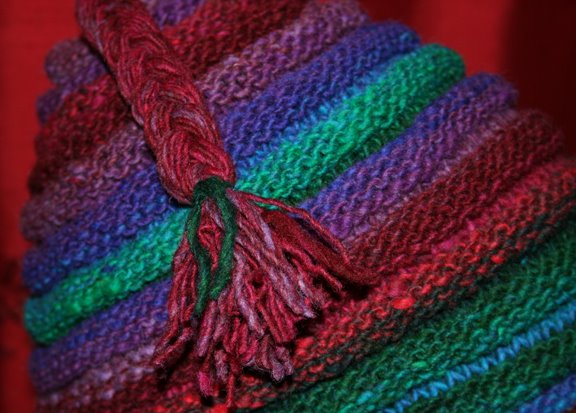
Here's a detail of the side, and the little braided tassel.

Tuesday, February 14, 2006

Green Sweater


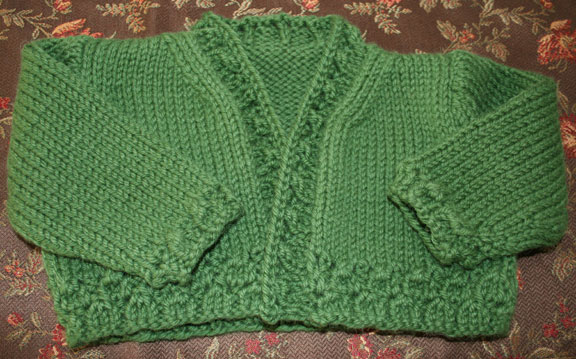
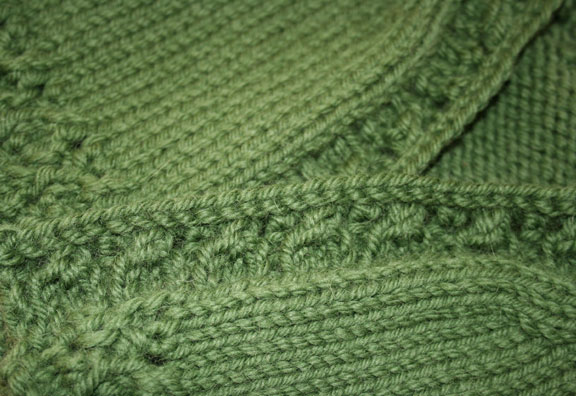
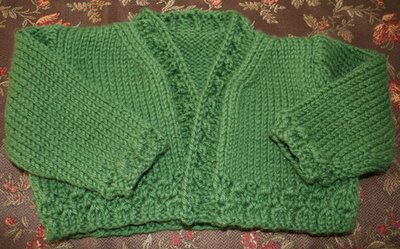
Before the hat, there was the sweater. This little cardigan, in a lovely green (pictures don't do it justice) knitted up very quickly and easily. I saw the Twisted Openwork Rib pattern in Knitting Over the Edge and I wondered how it would look on a thicker yarn; the open part isn't too open, but it still creates an interesting texture that I really like.

I am still looking for the perfect green ribbon to make a tied closure, but I thought I'd pop the pattern up here anyway. If you make it, please let me know how it turned out - mail me a picture, let me know if the pattern was clear...

Here it is:


Green Sweater

12 month size

Materials:
Two skeins of Knitpicks Sierra in Leaf, or another bulky yarn.
Size 7 straight needles, or size needed to obtain gauge.

Gauge: 15 stitches & 21 rows across 4" in stockinette

Pattern - Twisted Openwork Rib (worked in multiple of 4 plus 1)

Row 1: P1, *K3, P1, rep from * to end
Row 2: *K1, P3, rep from *, end K1
Row 3: Like row 1
Row 4: K1, *YO, P3tog, yo, K1, rep from * to end
Row 5: K2, P1, *K3, P1, rep from *, end K2
Row 6: P2, K1, *P3, K1, rep from *, end P2
Row 7: Like row 5
Row 8: P2tog, YO, K1, *YO, P3tog, YO, K1, rep from * to last 2 sts, YO, P2tog

This is what it looks like:


Back

CO 53
Work Rows 1 - 8 of the Twisted Openwork Rib pattern
Row 9: Knit to end, and continue in stockinette until piece measures 5" from cast-on edge, ending with a purl row

Shape armholes:
BO 2 sts at the beginning of the next 2 rows
Next row: K3, K2tog, knit to last 5 sts, SSK, K3
Decrease 1 st at each end of the next three RS (knit) rows in the same way; 41 sts remaining
Continue in stockinette with no shaping until piece measures 8 3/4" from cast-on edge, ending with a purl row

BO 9 sts at the beginning of the next 2 rows; place the remaining 23 sts on a holder and break yarn


Left Front

CO 25
Work Rows 1 - 8 of the Twisted Openwork Rib pattern
Row 9: Knit to end, and continue in stockinette until piece measures 5" from cast-on edge, ending with a purl row**

Shape armhole:
BO 2 sts at the beginning of the next row, K to end
Next row: P to last 5 sts, P2tog, P3 sts
Decrease 1 stitch at the end of the next three WS (purl) rows in the same way; 19 sts remaining

Shape neck (RS facing):
Row 1: K to last 5 sts, K2tog, K3
Row 2: P3, P2tog, P to end
Row 3: K to last 5 sts, K2tog, K3
Row 4: Purl to end
Repeat rows 3 & 4 until 11 sts remain
Continue in stockinette until piece measures about 8 3/4" from cast-on edge, ending with a purl row
Bind off all stitches and break yarn


Right Front

CO 25 and work as Left Front until you reach **, ending with a knit row

Shape armhole (WS facing):
BO 2 sts at the beginning of the next row, P to end
Next row: K to last 5 sts, K2tog, K3
Decrease 1 stitch at the end of the next three RS (knit) rows in the same way; 19 sts remaining

Shape neck (WS facing):
Row 1: P to last 5 sts, P2tog through back, P3
Row 2: K3, K2tog, K to end
Row 3: P to last 5 sts, P2tog through back, P3
Row 4: Knit to end
Continue in stockinette until piece measures about 8 3/4" from cast-on edge, ending with a purl row
Bind off all stitches and break yarn


Sleeves (Make two)
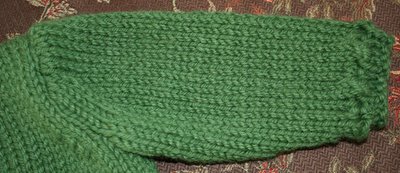


CO 25 and work Rows 1 - 4 of the Twisted Openwork Rib

Body of sleeve:
Row 1: Knit
Row 2: Purl
Row 3: K1, inc in 2nd st, knit to last 2 stitches, inc, K1
Row 4: Purl
Row 5: K1, inc in 2nd st, knit to last 2 sts, inc, K1
Rows 6, 8 & 10: Purl
Rows 7 & 9: Knit
Row 11: as row 5
Repeat rows 6 - 11 until you have 33 sts
Continue in stockinette (no shaping) until piece measures about 7" from cast-on edge, ending with a purl row

Shape cap:
BO 2 sts at the beginning of the next 2 rows
Row 1: K3, SSK, K to last 5 sts, K2tog, K3
Row 2: Purl
Repeat rows 1 & 2 until 21 sts remain
BO 3 at the beginning of the next 4 rows - 9 sts remain
Bind off all sts and break yarn


Assemble Sweater
Lightly block all pieces and mattress stitch together

Button Band
Starting at lower left hem, pick up 36 sts up the left front, break yarn, pick up the 23 sts from the holder, join yarn, pick up 36 sts down the right front. You have 95 sts.

With RS facing, work rows 1-4 of Twisted Openwork Rib
Bind off all stitches
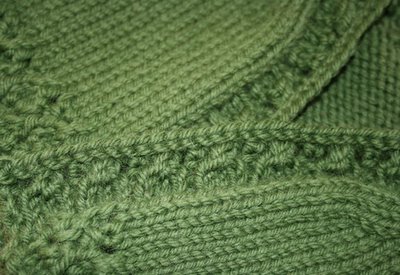


Weave in ends and voila - you are done. Now pick your closure - you can choose to use buttons, in which case you can apply them to either side of the button band, using the eyelets in the Twisted Openwork Rib as buttonholes. Or, you can use a ribbon closure just at the beginning of where the v-neck starts, in which case it will be a little roomier, like a bolero for a slightly older child. If you plan for both it will give room to grow.

Copyright 2006 Windansea
For personal use only

Monday, February 13, 2006

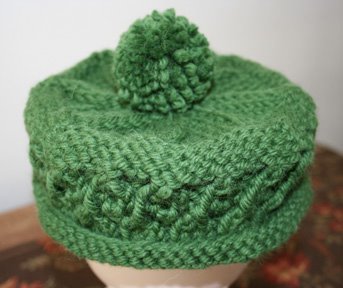
Green Hat


It's happened - I'm knitting without a pattern. Nicky Epstein's books on decorative edgings have really inspired me to just branch out on my own! Armed with the stitches, Ann Budd's Handy Book of Patterns, and some size changes from the internet, I'm starting to design my own things.

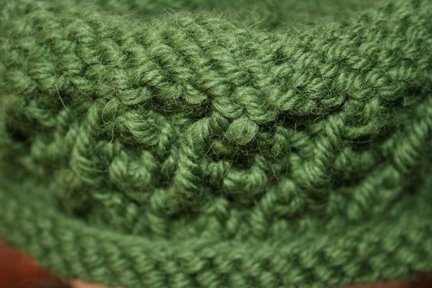
Above you see a green pillbox hat using the twisted openwork rib described in Knitting Over the Edge. Here is a detail of the stitch pattern:


And here is the pattern if you'd like to try it. If you do end up knitting it, I'd appreciate seeing a picture of the final product and also any feedback on problems with the pattern:

Green Pillbox Hat

6 - 12 month size (16" interior circumference, but it's stretchy)

Materials:
Part of one skein of Knitpicks Sierra in Leaf, or another bulky yarn.
Size 7 dp needles, or size needed to obtain gauge.

Gauge: 15 stitches & 21 rows across 4" in stockinette

CO 72 sts evenly across four dp needles and join for working in the round, being carefuly not to twist stitches. Place marker.

Knit the first six rounds (stockinette)

Begin pattern:
Rounds 1, 2, and 3: *K3, P1, rep from * to end
Round 4: *YO, K3tog, YO, P1, rep from * to end
Rounds 5, 6, and 7: K1, P1, *K3, P1, rep from *, end K2
Round 8: K1, *YO, K3tog, YO, P1, rep from *, end the round by knitting the last two stitches together with the first stitch of the next round, and shift the marker over to the new beginning stitch of the round

Purl the next four rounds (reverse stockinette)
Knit two rounds

Begin decreases, switching to 3 dpn when necessary:
Round 1: *K7, K2tog, rep from *, 64 sts remain
Round 2: *K6, K2tog, rep from *, 56 sts rem
Round 3: *K5, K2tog, rep from *, 48 sts rem
Round 4: *K4, K2tog, rep from *, 40 sts rem
Round 5: *K3, K2tog, rep from *, 32 sts rem
Round 6: *K2, K2tog, rep from *, 24 sts rem
Round 7: *K1, K2tog, rep from *, 16 sts rem
Round 8: *K2tog, rep from *, 8 sts rem

Here's what the decreases look like:


Break yarn & thread through remaining stitches. Pull to close gap; weave ends in.
I made a pompom for the top of the hat, but you could leave it unadorned as well, or finish it however you'd like.

Copyright 2006 Windansea
For personal use only
Saturday, February 11, 2006
Baby Sweaters


I haven't posted in a while because I've been knitting!! Right now I'm working on several designs of my own, but the thing that kicked it off was this little sweater from Simple Knits for Cherished Babies. It's so sweet, and I love the simple design. I ordered a lot of yarn to make other garments from this book, but somewhere on the road to finishing this sweater I got caught up in my own imagination. Tomorrow I will post a picture of one of my own designs.